I know that the title is very specific but that is the platform that I am doing some experiments with SFML.
So, if you want to create games with SFML and you have macOS and you want to use CLion as IDE just follow the next steps:
Install SFML
There are a lot ways to install SFML but the easiest is to install it with brew
brew install sfml
With this command, you’re going to install the version 2.5.1.
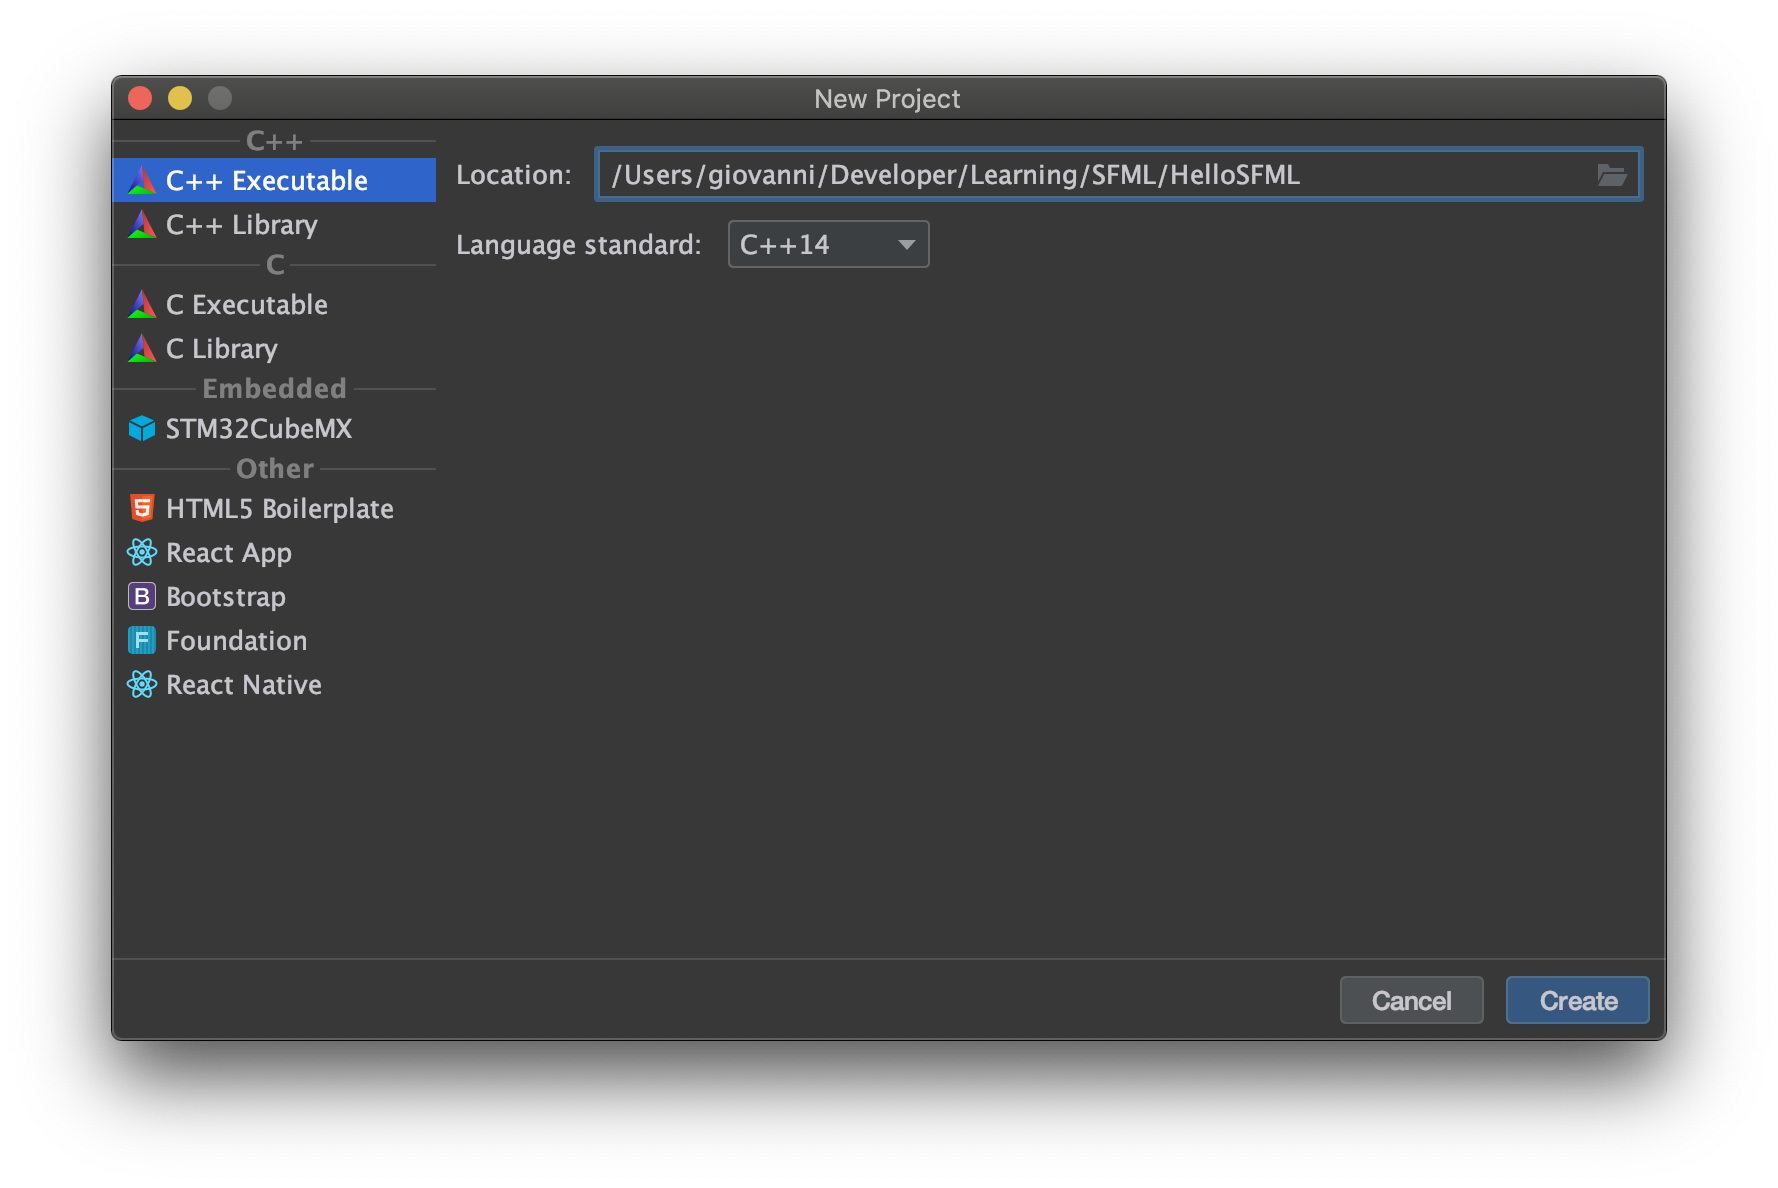
Create the project with CLion
Now is time to create a new project with CLion, put the name that you want

Now, you need to update the CMakeList.txt to compile and link your project with the SFML libraries.
cmake_minimum_required(VERSION 3.14)
project(HelloSFML)


set(CMAKE_CXX_FLAGS "${CMAKE_CXX_FLAGS} -std=c++11")


set(SOURCE_FILES main.cpp)
add_executable(HelloSFML ${SOURCE_FILES})
include_directories(/usr/local/include)

find_package(SFML 2.5 COMPONENTS system window graphics network audio REQUIRED)
include_directories(${SFML_INCLUDE_DIRS})
target_link_libraries(HelloSFML sfml-system sfml-window sfml-graphics sfml-audio sfml-network)
My recommendation is that you link the libraries that you are going to use, for example, only link and require sfml-graphics and sfml-audio for example.
A simple SFML project
Now , create a simple SFML code to check if all was installed correctly.
#include <SFML/Graphics.hpp>

int main()
{
    sf::RenderWindow window(sf::VideoMode(640, 480), "SFML Application");
    sf::CircleShape shape;
    shape.setRadius(40.f);
    shape.setPosition(100.f, 100.f);
    shape.setFillColor(sf::Color::Cyan);

    while (window.isOpen())
    {
        sf::Event event;

        while (window.pollEvent(event))
        {
            if (event.type == sf::Event::Closed)
                window.close();
        }

        window.clear();
        window.draw(shape);
        window.display();
    }
}
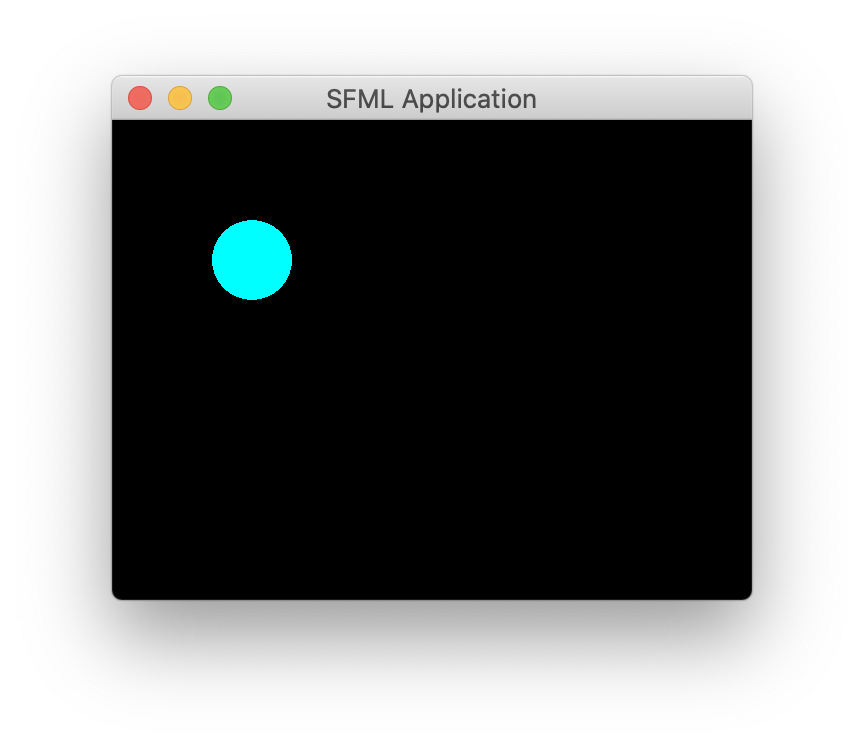
Run your project and you will see

Now you are ready to create games 🙂 !